


01 / Cycle mode
Set on. Set off.
TIME ON and TIME OFF each offer 10, 20 or 30 minutes. The default cycle repeats 10 minutes on and 10 minutes off.


Recovery · Cold therapy
$199.00
Available to order
Use under a healthcare provider’s supervision. Always keep a dry insulating layer between the pad and skin.
Download Cold Flow manual (English PDF)Shipping, taxes and any discounts are confirmed at checkout.
Questions about this product? ↗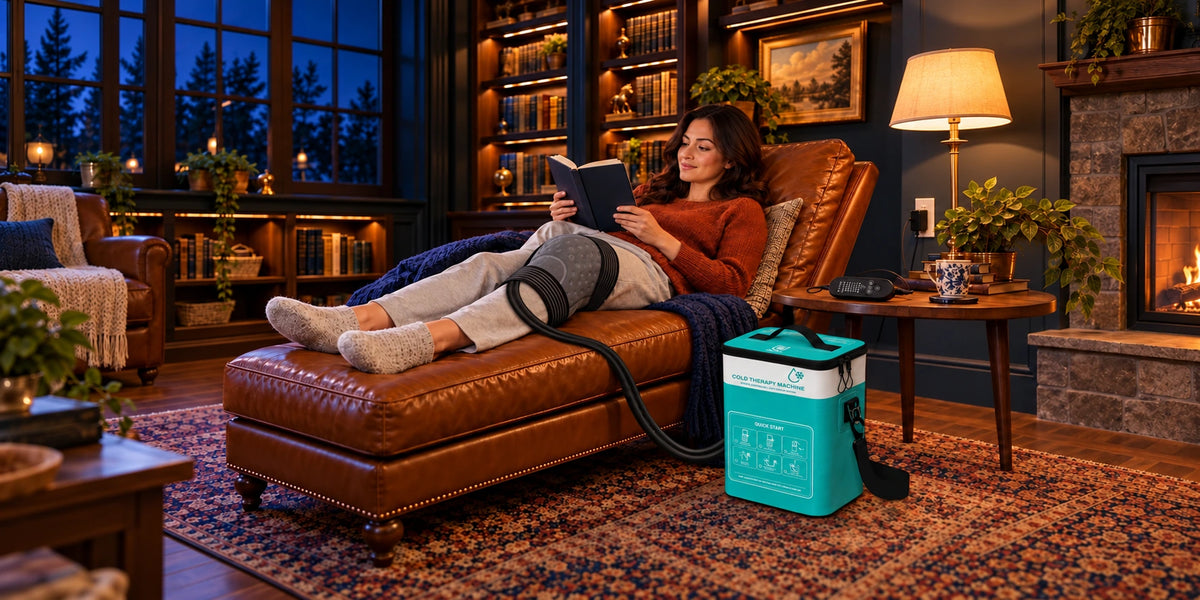
Leave room for a book, a conversation or a quiet pause. Low pump noise helps keep your break peaceful.
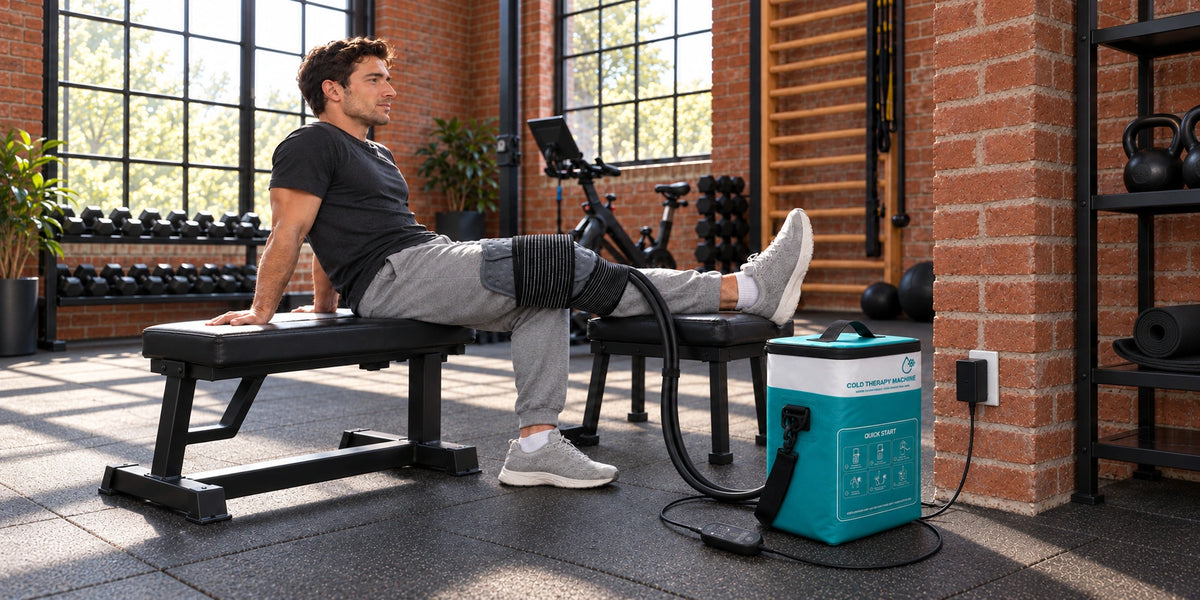
Room for ice and cold water, with less of your break spent topping up.
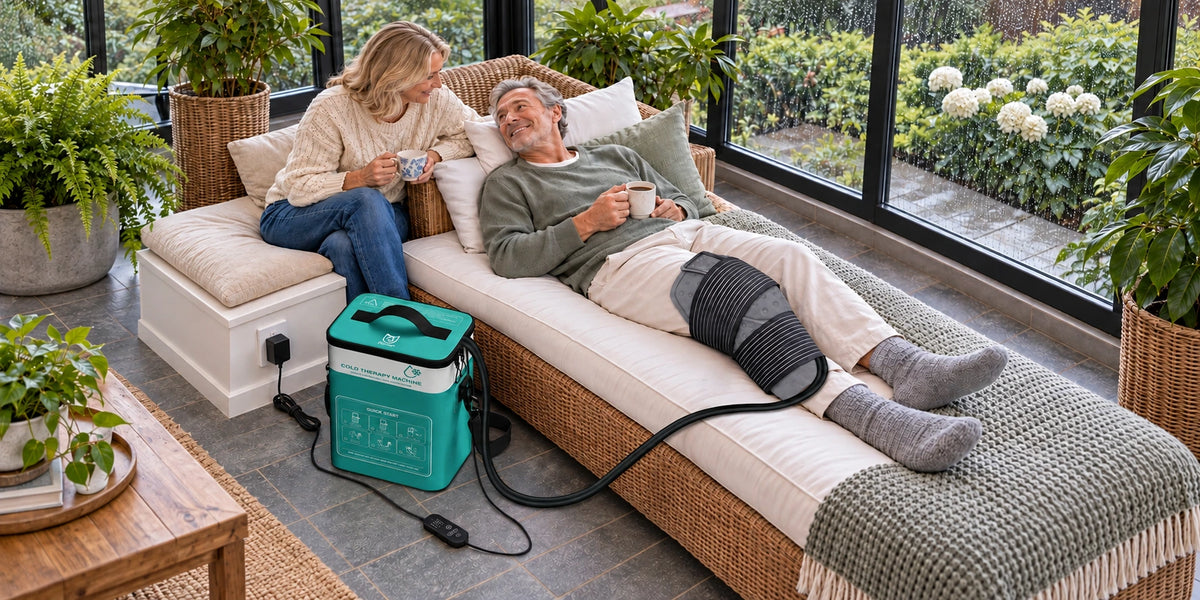
Three-layer insulation helps keep cold water ready for your routine. Cold retention varies with setup and surroundings; it is not a recommended session length.
Universal pad
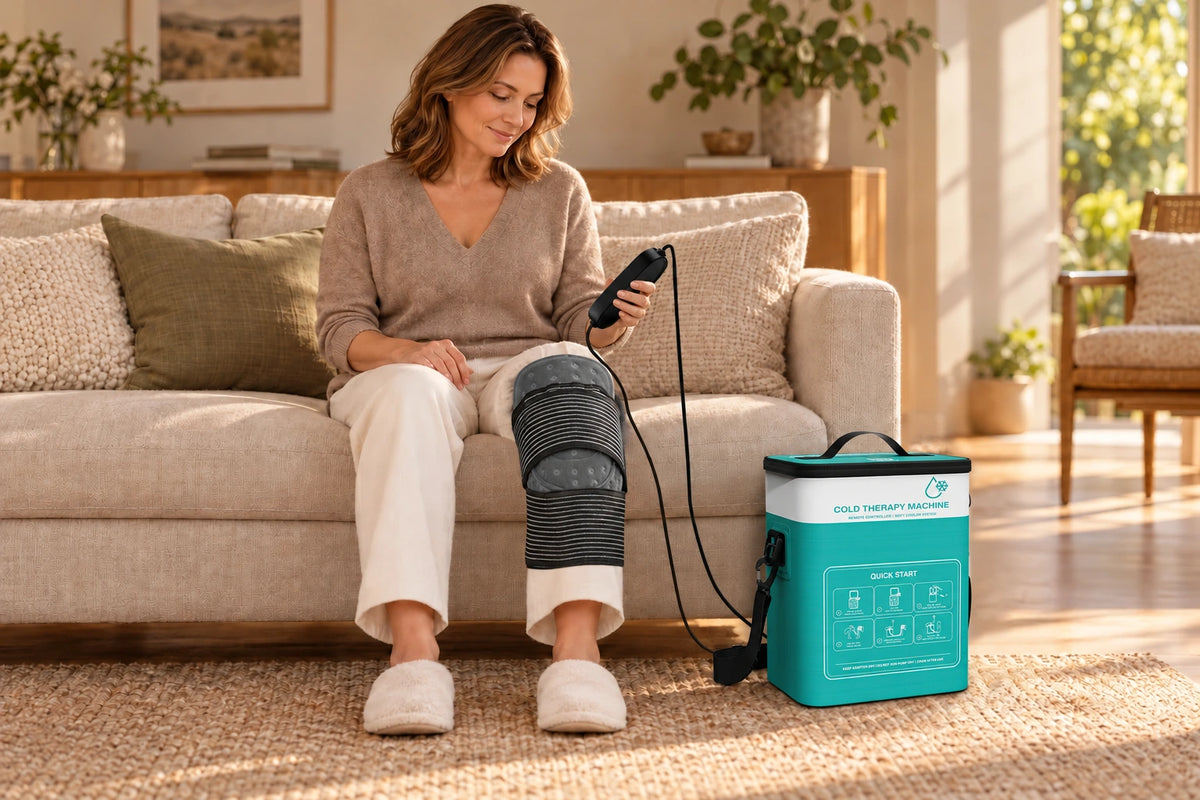
Wrap the pad around the ankle, extending toward the top of the foot. Secure the wrap and route the hose alongside the lower leg.
Place the pad around the calf, below the knee. Fasten the wide wrap comfortably around the lower leg.
Center the pad over the knee, with the side panels around the joint. Secure the wrap above and below the kneecap.
Place the pad across the front of the thigh, above the knee. Fasten the wide wrap around the thigh.
Position the pad over the outer hip and upper thigh. Secure it with the wrap around the waist and upper thigh.
Drape the pad over the top and side of the shoulder. Secure the wrap across the upper chest and around the upper arm.
Place the pad around the bent elbow, aligning its opening with the joint. Fasten the wrap and keep the hose free of tight bends.
Place the pad along the upper arm, above the elbow. Fasten the wrap comfortably around the arm.

At your fingertips
01 / Cycle mode
TIME ON and TIME OFF each offer 10, 20 or 30 minutes. The default cycle repeats 10 minutes on and 10 minutes off.

02 / Continuous mode
Press FLOW after powering on. Continuous operation automatically stops after 30 minutes; this is a device safeguard, not a prescribed session length.

03 / Flow adjustment
SPEED selects low, medium or high flow in either operating mode.
Before you begin
Read the full safety guidance. Add ice or ice packs and cold water; keep the pump fully submerged.
Close the lid with the control port outside. Connect as directed. Place a dry insulating layer between the pad and skin; fabric side faces outward.
Select settings as directed by your provider. Avoid tight straps or kinked tubing. Check skin regularly and stop if a reaction occurs.
This overview does not replace the full manual. Keep the adapter dry. Replace a wet insulating layer immediately.
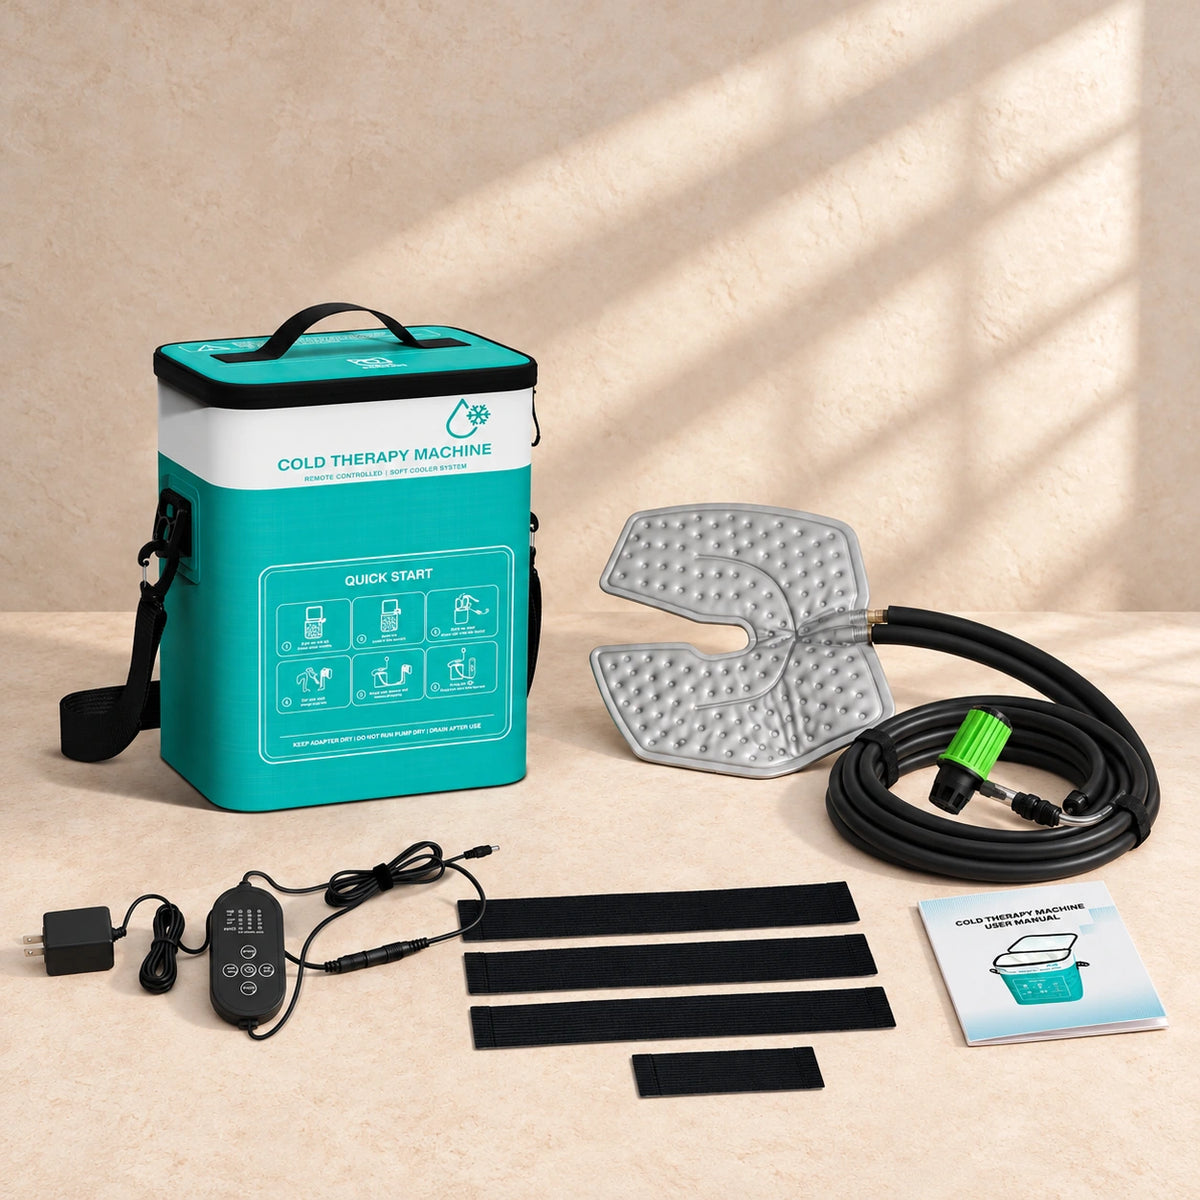
Inside the box
Product support
The supplied manual shows use at the ankle, calf, knee, quad, hip, shoulder, elbow and bicep. Follow the manual and your healthcare provider’s guidance for your exact situation.
Switch off and unplug before cleaning. Empty the bucket, refill with clean water and fully submerge the pump. Reconnect power only to run a 1–2 minute clean-water flush through the hose and pad; then switch off, unplug and empty again. Lift the pad and hose to return water to the bucket, gently press toward the hose without twisting or sharply folding, and wipe the liner and connectors dry. Air dry with the lid open. Never immerse the adapter, controller or electrical connectors; do not use bleach, alcohol, solvents, abrasive cleaners, soap or salts unless approved by the manufacturer. For storage over a week, flush, drain and air dry for at least 24 hours. Do not store with water inside.
No. The manual requires use under a healthcare provider's supervision, with a dry insulation layer such as cloth between the pad and skin. The non-sterile pad must not be used on open or bleeding skin, or on post-surgical areas without sterile dressings. Keep the barrier dry and replace it immediately if wet. Check skin frequently as directed, do not overtighten straps, and stop and consult your provider for increased pain or swelling, burning, itching, blistering, discoloration, bruising, or unexpected or worsening symptoms.
In cycle mode, TIME ON and TIME OFF each offer 10, 20 or 30 minutes. The default is 10 minutes on followed by 10 minutes off, repeating. Press FLOW after switching on for continuous operation; the unit shuts off automatically after 30 minutes. Ask your healthcare provider to set the appropriate timing; device presets are not a personal treatment recommendation.
For a leak, turn off the device immediately, take photos and contact support. If the pump runs but the pad stays empty, check for kinks in the hose or connections. If flow remains blocked or the issue persists, contact support instead of continuing use.